Wednesday, September 5, 2012

Customized Thank You Cards


I thought I would share a quick way to customize Thank You cards. 
 You can do this for any type of card really.  The fall and winter mark birthday time in my house so why not start planning ahead. 

Here is the card I made.

This is from an image my oldest, Mr. B. made.  I just love it.  Not sure if it is the colors or the design or the fact he is my child, but I love it.  
This technique is from my scrapbooking days.  
All you will need is...
image
printer
vellum paper
clear embossing powder
heat gun

First, decide on your image.  This was a digital copy he made on the computer, but if it is a hard copy simply scan it or take a picture of it with your digital camera and upload it into the computer.
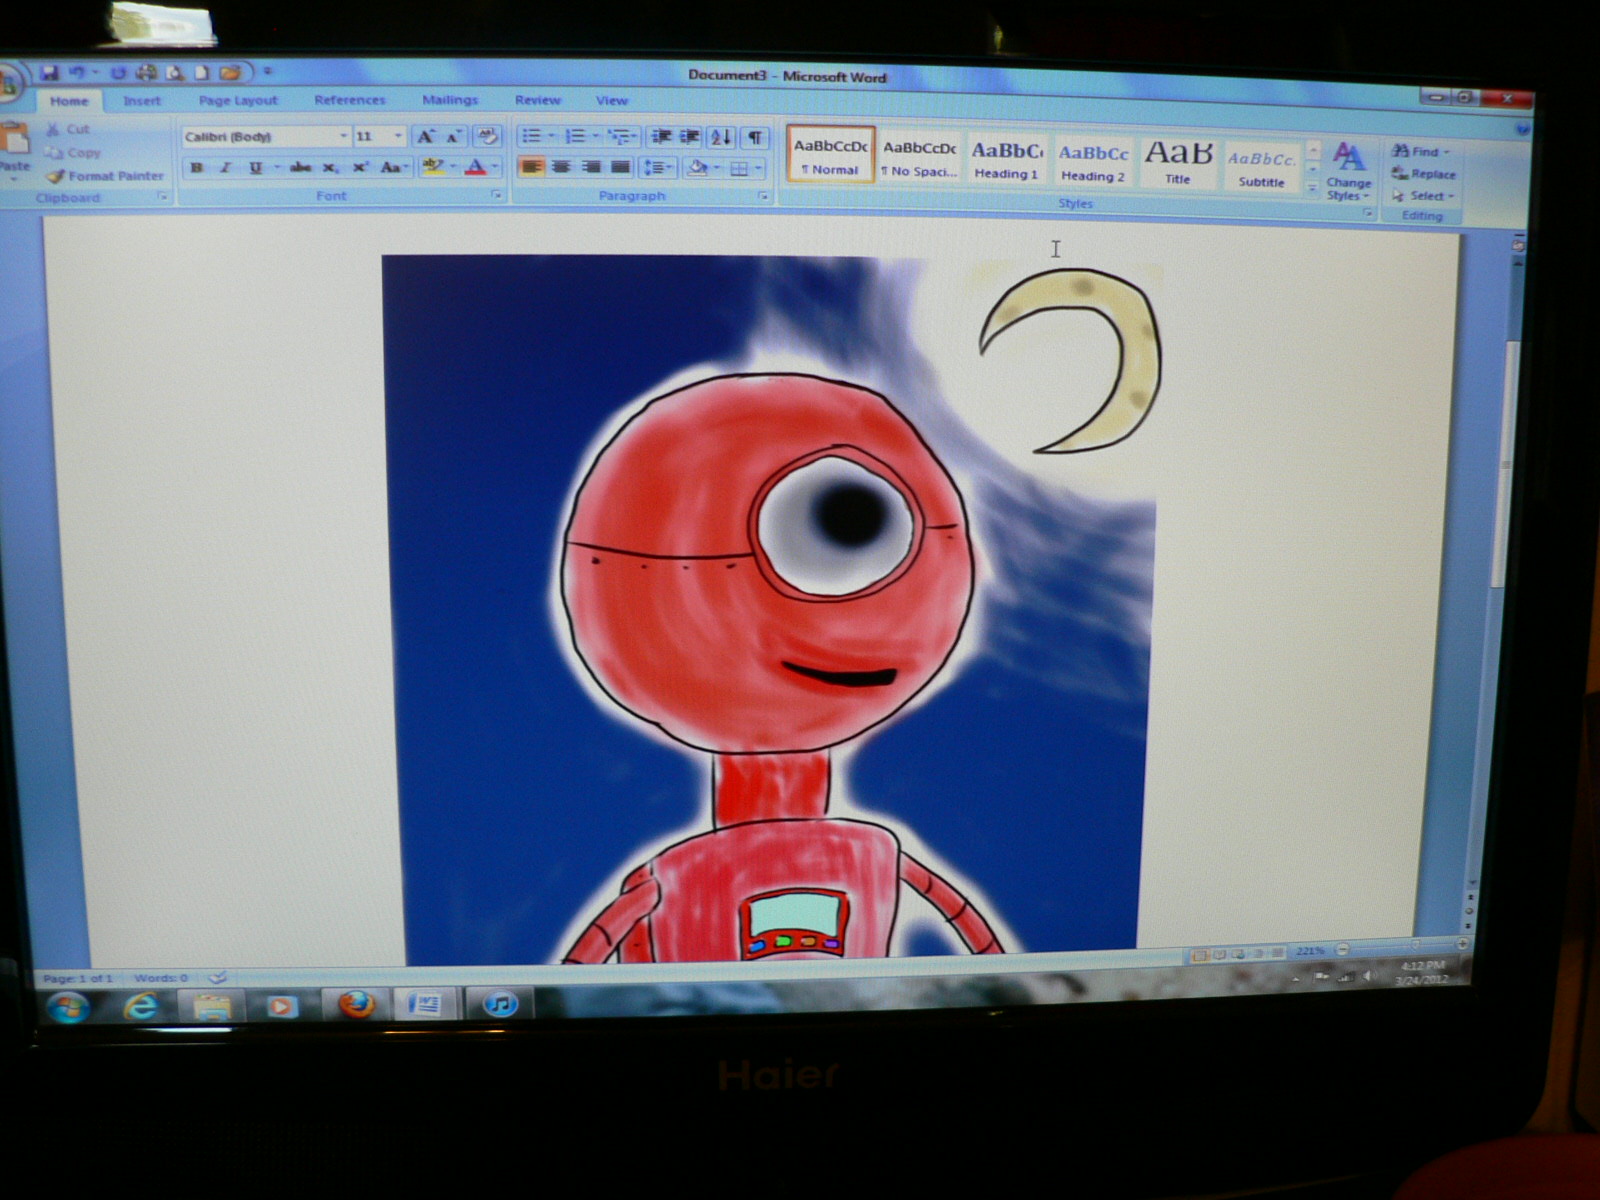
I didn't need anything fancy done to it so I opened it up in a Word doc.  Choose whatever program you would like for editing or printing.

Once you have done that get your heat gun plugged in and the embossing powder ready to go.

You will need to work somewhat fast so be prepared.  Once you have your image, decide the size and send it to the printer, using the vellum paper.  I have only done this on an ink jet.  Once it is printed you need to cover it in embossing powder.  Thanks to the vellum, when it is printed on the ink comes out wet which allows the embossing powder to stick to it.

Once you have it coated simply pour off the excess and tap it lightly to knock off any remaining powder.  


Now you can turn on the heat gun and watch the magic happen.  Slowly go back and forth until it is all melted and coated.

And now you can cut out your image and glue it to any card stock of your choice. Finish with any small details and your card is done.


I hope this inspires you to customize your cards and make them meaningful.  You can use your child's art work, photos, words, colored embossing powder.  The sky is the limit.

As always thanks for stopping by and don't forget the best way to keep up with me is through Facebook or subscribing to my blog.  All your options are on the top of the page.


Kelly

Monday, August 27, 2012

Revisiting the Backpack Name tags

In case you missed it, here is the post on Backpack Name tags I did for the CSI girls.
Some of you may not have had a chance to visit me over there so I thought I would share it one more time as I finish up some other projects I am getting ready to share.

Have a great week!
  
 Many of my friends and fellow followers know I have 2 boys, 1 in middle school and the other in high school, and it is hard to be cute and crafty for back to school projects with 2 older boys.  Herein lies my struggle and challenge every year.  This year I found my inspiration in washers.  Yep, washers.  

Since my boys are too old for embroidered back packs I decided to add washers with their names on them.  My youngest thinks it is cool, the eldest, he thinks he is too cool to tell me or not.  

I know not everyone has metal jewelry stamps, but if you look for sales they are really fun to have.  They have become a new fun toy in my arsenal.  If a friend has some ask to borrow theirs.  

Supplies you will need:
stamps
hammer
washers(found at Lowe's for pennies)
Sharpie
rubbing alcohol(not shown)
cording of some type (I used para cord)

First step, find a hard surface for all the hammering.  I use the driveway with my mat underneath the washers.  I have done it inside on tile floors(using the mat), but the concrete works better for these hard washers.

Once you have the name hammered it is time to use the Sharpie.  Mark all over the hammered letters.  
Make sure you get into all the grooves.

Now it is time to take a little rubbing alcohol and wipe off all the Sharpie marker.  It will not take off the marker inside 
the lettering.  Clean up the washer really well
 so there are no streaks.

These washers are less feminine and more industrial, 
perfect for boys.  
(I will put our last name on the washer for school.)

Tie the washers on with some para cord.  The home washer is going on his house key.  


I hope this gives you a fun new way of putting your child's name on their backpacks, or lunch boxes.

Here is a printable for back to school as well.  I always try to give the teachers a heads up when the boys are being checked out of school.  I wanted to share with you the notes I use to have the boys give to their teachers as a way to communicate that with them. 


Thanks for letting me hang out here today and please come by for a visit!! I love meeting new people.  
Good luck in this school year!!!   


Thursday, August 23, 2012

DIY Starburst Mirror

I have been meaning to get this project up for awhile now and life has just happened.  

I hope you are ready, because this project will rock your world.  Well, OK, it may not 
rock your world, but it makes 
my crafty heart happy. 
(Deep down I hope it rocks your world, even if it's just a little bit.)

I am in the process of gearing up for a Master Bedroom/Bathroom makeover.  I have been busy pinning all these fabulous ideas to add to our room to make it the peaceful, calm, love retreat I hope it to be.  And well, since money does not grow on trees around here, and I don't have a sugar daddy on the side, it falls on me to whip out my budget conscious craftiness to make it all happen; on the cheap.

This fabulous starburst mirror cost me a big whopping $12 to make.  Did your jaw just drop?  Are you in disbelief?  Are you secretly judging how not cute it is going to be because of the price?  You too can have this starburst mirror in your home even if you are a beginner crafter.  It was extremely easy and only took me maybe 1hr, 1 1/2 max.

The reality in prices for store mirrors.
$239

$199

$595!!!!

$24.19: From Target

All my supplies came from Hobby Lobby and I did take in a coupon just in case one thing was more than I wanted to pay for. 


 I bought 3 different sizes of little mirrors, 1 large mirror, long dowels and the
 smaller package of dowels.  
I cut the longer dowels in half.

1.  Paint your dowels.  I used a cream, but silver or gold will work.  It's up to you.
2.  Flip over your mirror and find the center and start gluing 4 longer dowels down so they divide the mirror into 4s.(I used hot glue)
 3.  Continue this process with your longer dowels until it looks like a big pie on the back that you have just cut.
4.  Now start filling in the gaps with the smaller dowels.  This will give your mirror dimension and character.
(I also made a make shift hanger out of wire for when I hang it on the wall.  I am going to put epoxy glue on it to give it an extra hold)

4.  Start gluing on your mirrors.  This is really up to you on how you want to do it.  I started with the biggest ones and glued them on the longest rods at the top.  You will find a pattern.  I didn't intend to have a pattern, but it happened.  Lucky me.  Here is my inspiration link from Pinterest.


 After it is all dry, slowly and carefully pick it up and hang it on your wall.  
Once it was hung I took some Windex and a microfiber cloth to get all my fingerprints off of the mirrors.

So, what do you think?  Does it make your heart go pitter patter like mine?  The dowels do not show up well in the shot, but it is precious!  It will be relocated once the walls are painted and furniture rearranged but for now it will stay here.   
You can probably go more detailed and higher grade material, but for my budget this serves me well, and I really do love it. 
 So does my HB.  
And all for $12!!!

I hope you all are finding tons of inspiration from Pinterest and actually making
 some of those things.  
How did we function with out it? 

Happy Pinning and Crafting!!
Don't forget all the ways you can keep up with me. The upper right hand corner of my blog gives you all your options.
{Kelly}

Find me over at:
Visit thecsiproject.com
HookingupwithHoH 

Tuesday, July 17, 2012

Repurposed Desk into Night Stands

It dawned on me that my last post was forever long ago and I promised a desk redo and alas summer got a hold of me and my blog has been pushed aside for pool time, reading and chilling.  At long last I have organized my pictures and will show you how to repurpose a desk and turn it into 2 night stands. 

I searched and searched for just the right desk to use for my boys' night stands.  They were using old plastic bins that were primary colors and just juvenile.  They didn't go with their rooms and they really needed more grown up furniture.  And really, night stands are not cheap.  I finally scored a desk of Craigslist and got busy tearing it apart.


The Before Picture

As I got to work on this desk I got out the hand held saw to cut the middle section and quickly realized it was being held together by nails.  I decided to ditch the saw and started banging it apart with a mallet.  Very gently.

There were some holes left from the tongue and groove parts.  I used  a dry wall mesh to cover it and then I put puddy over it and sanded.  Sorry, forgot to take pics of that part.

Separated At Last!


I love how deep the drawers are.  Perfect for my little pack rats.

Once I gave them a good sanding and fixed all the holes I sprayed them down with a Satin finish spray paint.  
I have decided I need to invest in a paint sprayer.   With all the spray paint I go through I am wondering if it would be cheaper in the long run.

The After Photos


There ya go.  Pretty easy really.  Took me about 1 day to finish these very grown up nightstands.  Mr N. is in love with his drawer pulls.  He said they were very cool! I'll take that as a Thanks MOM!

It is always fun to find new ways to use old things.  I think I have caught the repurposing bug.  Who's with me!!!


Thanks for stopping by and happy repurposing!


Making friends over at

Visit thecsiproject.com 


Funky Junk Interiors

Sunday, May 20, 2012

FOLLOW ME ON BLOGLOVIN


Here is a great new way to follow my blog and get updates on new posts. Just click on the link above and it will take you straight to Bloglovin where you can sign up to follow The Creative Chickadee.

Don't forget to sign up for my giveaway.  It goes until May 24.

Have a great Sunday!!