Stop by The Loops blog spot. She is giving away a $20 gift card for celebrating 100 followers.
The Loops

Thursday, March 3, 2011
Friday, February 18, 2011


Sunday, February 13, 2011
Happy Valentine's Day Box
This is my son's Valentine's day box for school. He came up with the idea, and the only I helped with was the soccer nets. I used embroidery yarn, Mod Podge, wax paper, q-tips and a lot of patience. :D


 |
| There is so much you can use this stuff for!! |
 | |
| The string. |
 | ||||
| Drag our string threw some Mod Podge on a plate. You can use Elmer's glue as well. Get it goopy. |
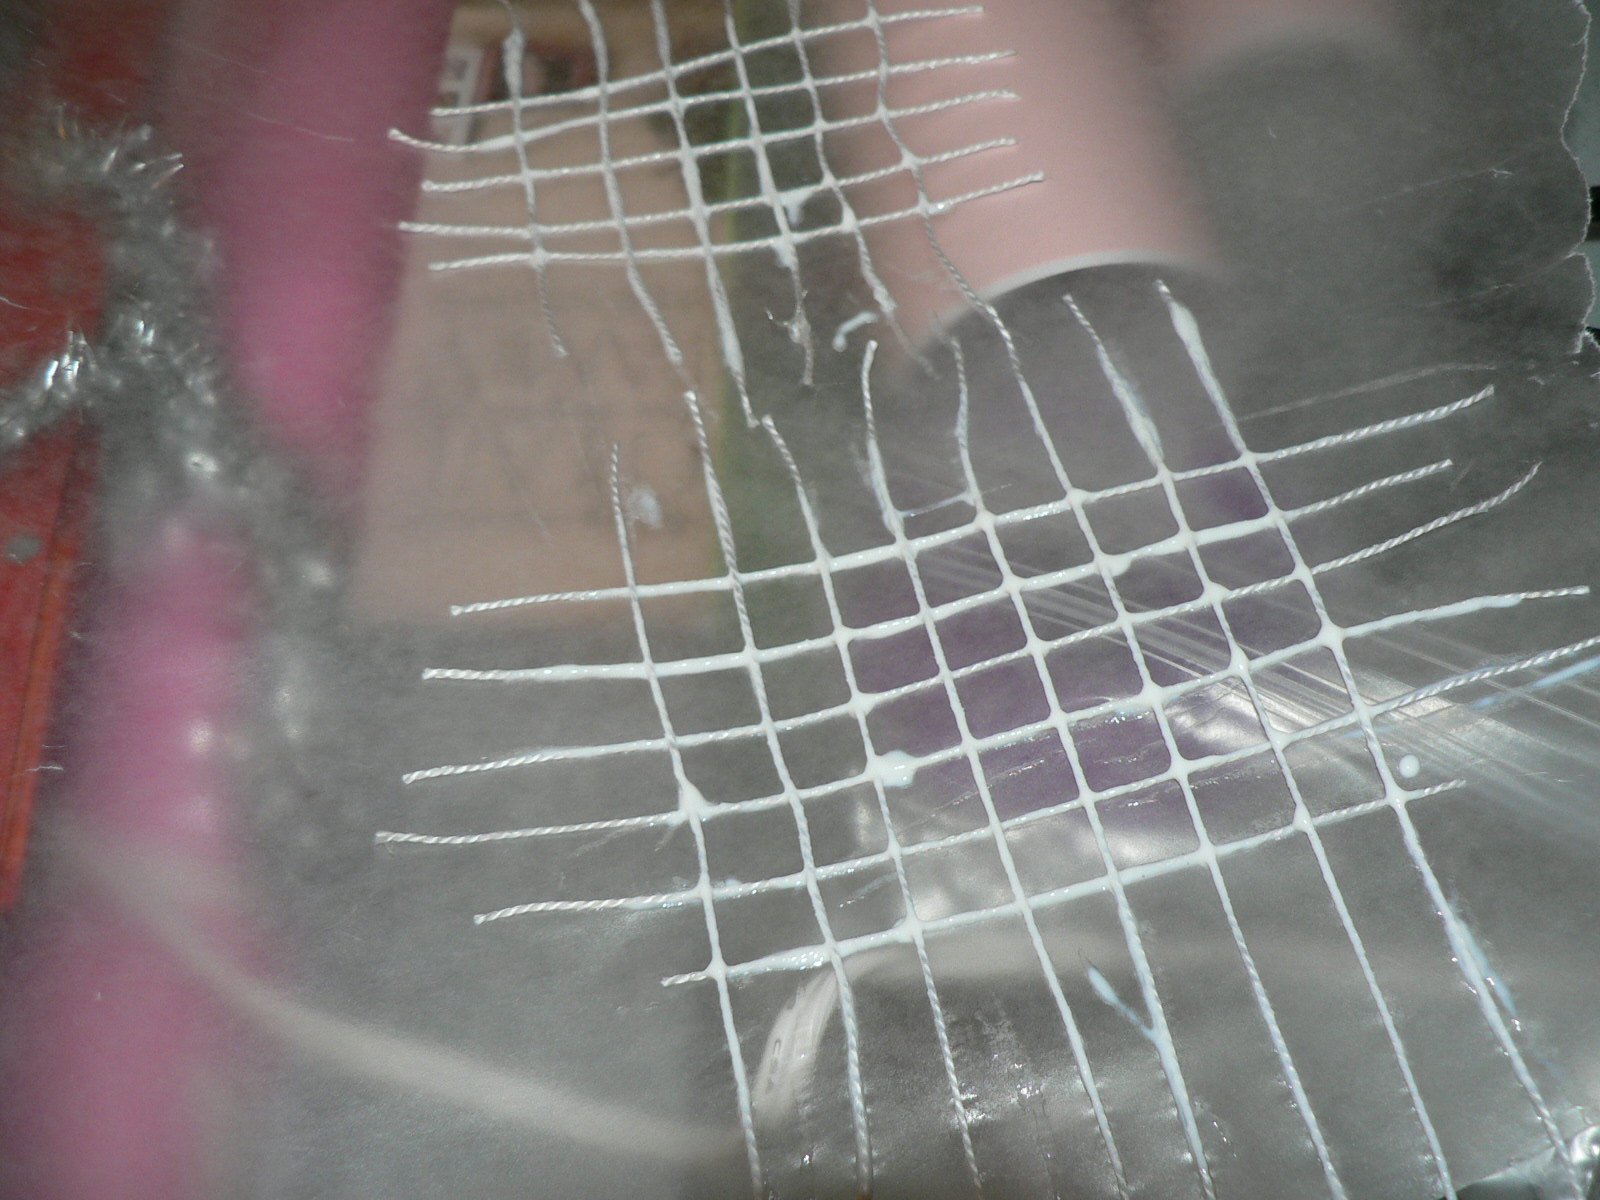 |
| Use the wax paper to lay it on to form you design. It is easy to peel off the wax paper. |
 |
| Once Mod Podge is dry peel off your design. This is the soccer goal net. |
 |
| I hot glued it to Q-tip sticks and cut off the access. I painted them silver. |


I actually had grass paper, so he used that. Not sure why he picked the other paper, but who am I to hinder creativity. I say go for it, even though it makes no sense to me.
Happy Valentine's Day!!!
Wednesday, February 9, 2011
Love Birds
What better way to spend a snowy day then with crafting. I have been dying to make these for a few weeks now and finally ran out to Michaels to get my supplies before the snow came to AR.
I first saw these love birds on another blog( here )and was smittin the second I saw them. I took her idea and made them into a framed picture instead. I was feeling too lazy to sew.(hehehehe) Here is my version...
 |
| I put a bow tie on the male love bird. |
 |
| This is supposed to say k + r if you can't tell |

This version cost me around maybe $2 to make. The frame came from The Dollar Tree, I <3 The Dollar Tree. The felt came from Michaels and is $.29 per sheet. I used maybe an small fraction for the entire project. Except the white, which was half a sheet.
Yea for snow days, which force me to craft!!!!!! Share what you have done on your snow days!!
Kelly
Wednesday, January 26, 2011
I'm in LOVE with Mod Podge: LOVE blocks
I have been making blocks that say PRAY on them but thought I would finally post something new. Here are my LOVE blocks in honor of Valentine's Day coming up.
 | |
| Great for decor or a gift |
How did I make these. Easy. Mine are made from 4x4x8 pieces of lumber that my lovely friend's husband cut for me into 4x4 blocks. However, you can go up to Michael's and buy hollow blocks around the same size. They run about $3 block. You will need 2 of them. You will need paper and Mod Podge, glossy or matte.
 | ||
| Find some cute Valentine paper you like. You will need 8 different types of paper. |
 | |
| I cut my background paper 3/4" smaller than my block, but play with the size to fit your style. |
 | |
| Cut our your letter in coordinating paper. I used my Cricut, but free handing is just as easy. |
 | |
| Now, paint your blocks and allow them to dry. I only painted the entire bottom with paint. The sides with paper I only painted the edges. Saves time and paint. |
 | |
| Use the same color as the wood to distress the edges of the paper. I use a dry brush and very little paint to do this. It stresses me out to distress things because I always think it looks bad, but just go with it and I guarantee it will look good. |
Now for the assembly. If you are new to Mod Podge you will want to put a coat on the wood and the paper. I use my Pampered Chef stone scrapers to get out the bubbles once I have placed the paper onto the wood. Let it set and dry for about 5min. Do not put a top coat of Mod Podge on yet. This is important to prevent bubbling but also we still need to distress the paper. Once it has set for 5 minutes put Mod Podge in the center of the paper where you will place the letter. Put the glue on the letter as well. Once you have placed the letter down and it is where you want it start to distress the corners and edges of the paper with paint. Once it looks the way you want it go ahead and put your top coat of Mod Podge to seal the paper. Completely cover all the sides of the blocks minus the bottom. Not too much though. Just enough. And there you have it. LOVE blocks.
I am linking up to...


Subscribe to:
Posts (Atom)